Category Archives: Technology

Open Source Multimedia Resources

Did you know that many of the audio, video, and photo editing programs offered in the Digital Media Studio have an open source alternative? The term “open source” refers to software and source code that can be adapted and distributed online for free (although funding and coding contributions to the project are usually welcome). OpenOffice is an example of open source software that’s comparable to Microsoft Office. 

Digital Camera

If you want to learn a new skill, brush up on some dormant ones, or need an alternative to some of the more well-known photo, video, and audio editing programs, explore the software linked below. Most of these programs are available for Windows, Mac OS, and Linux (except where noted) and a few of them are browser-based which means that you don’t have to download any additional software. Best of all, these open-source programs offer many of the same features present in proprietary software such as Adobe Photoshop and Final Cut Pro. 

Have you come across any other open source video, photo, and audio editing programs? Let us know in the comments! 

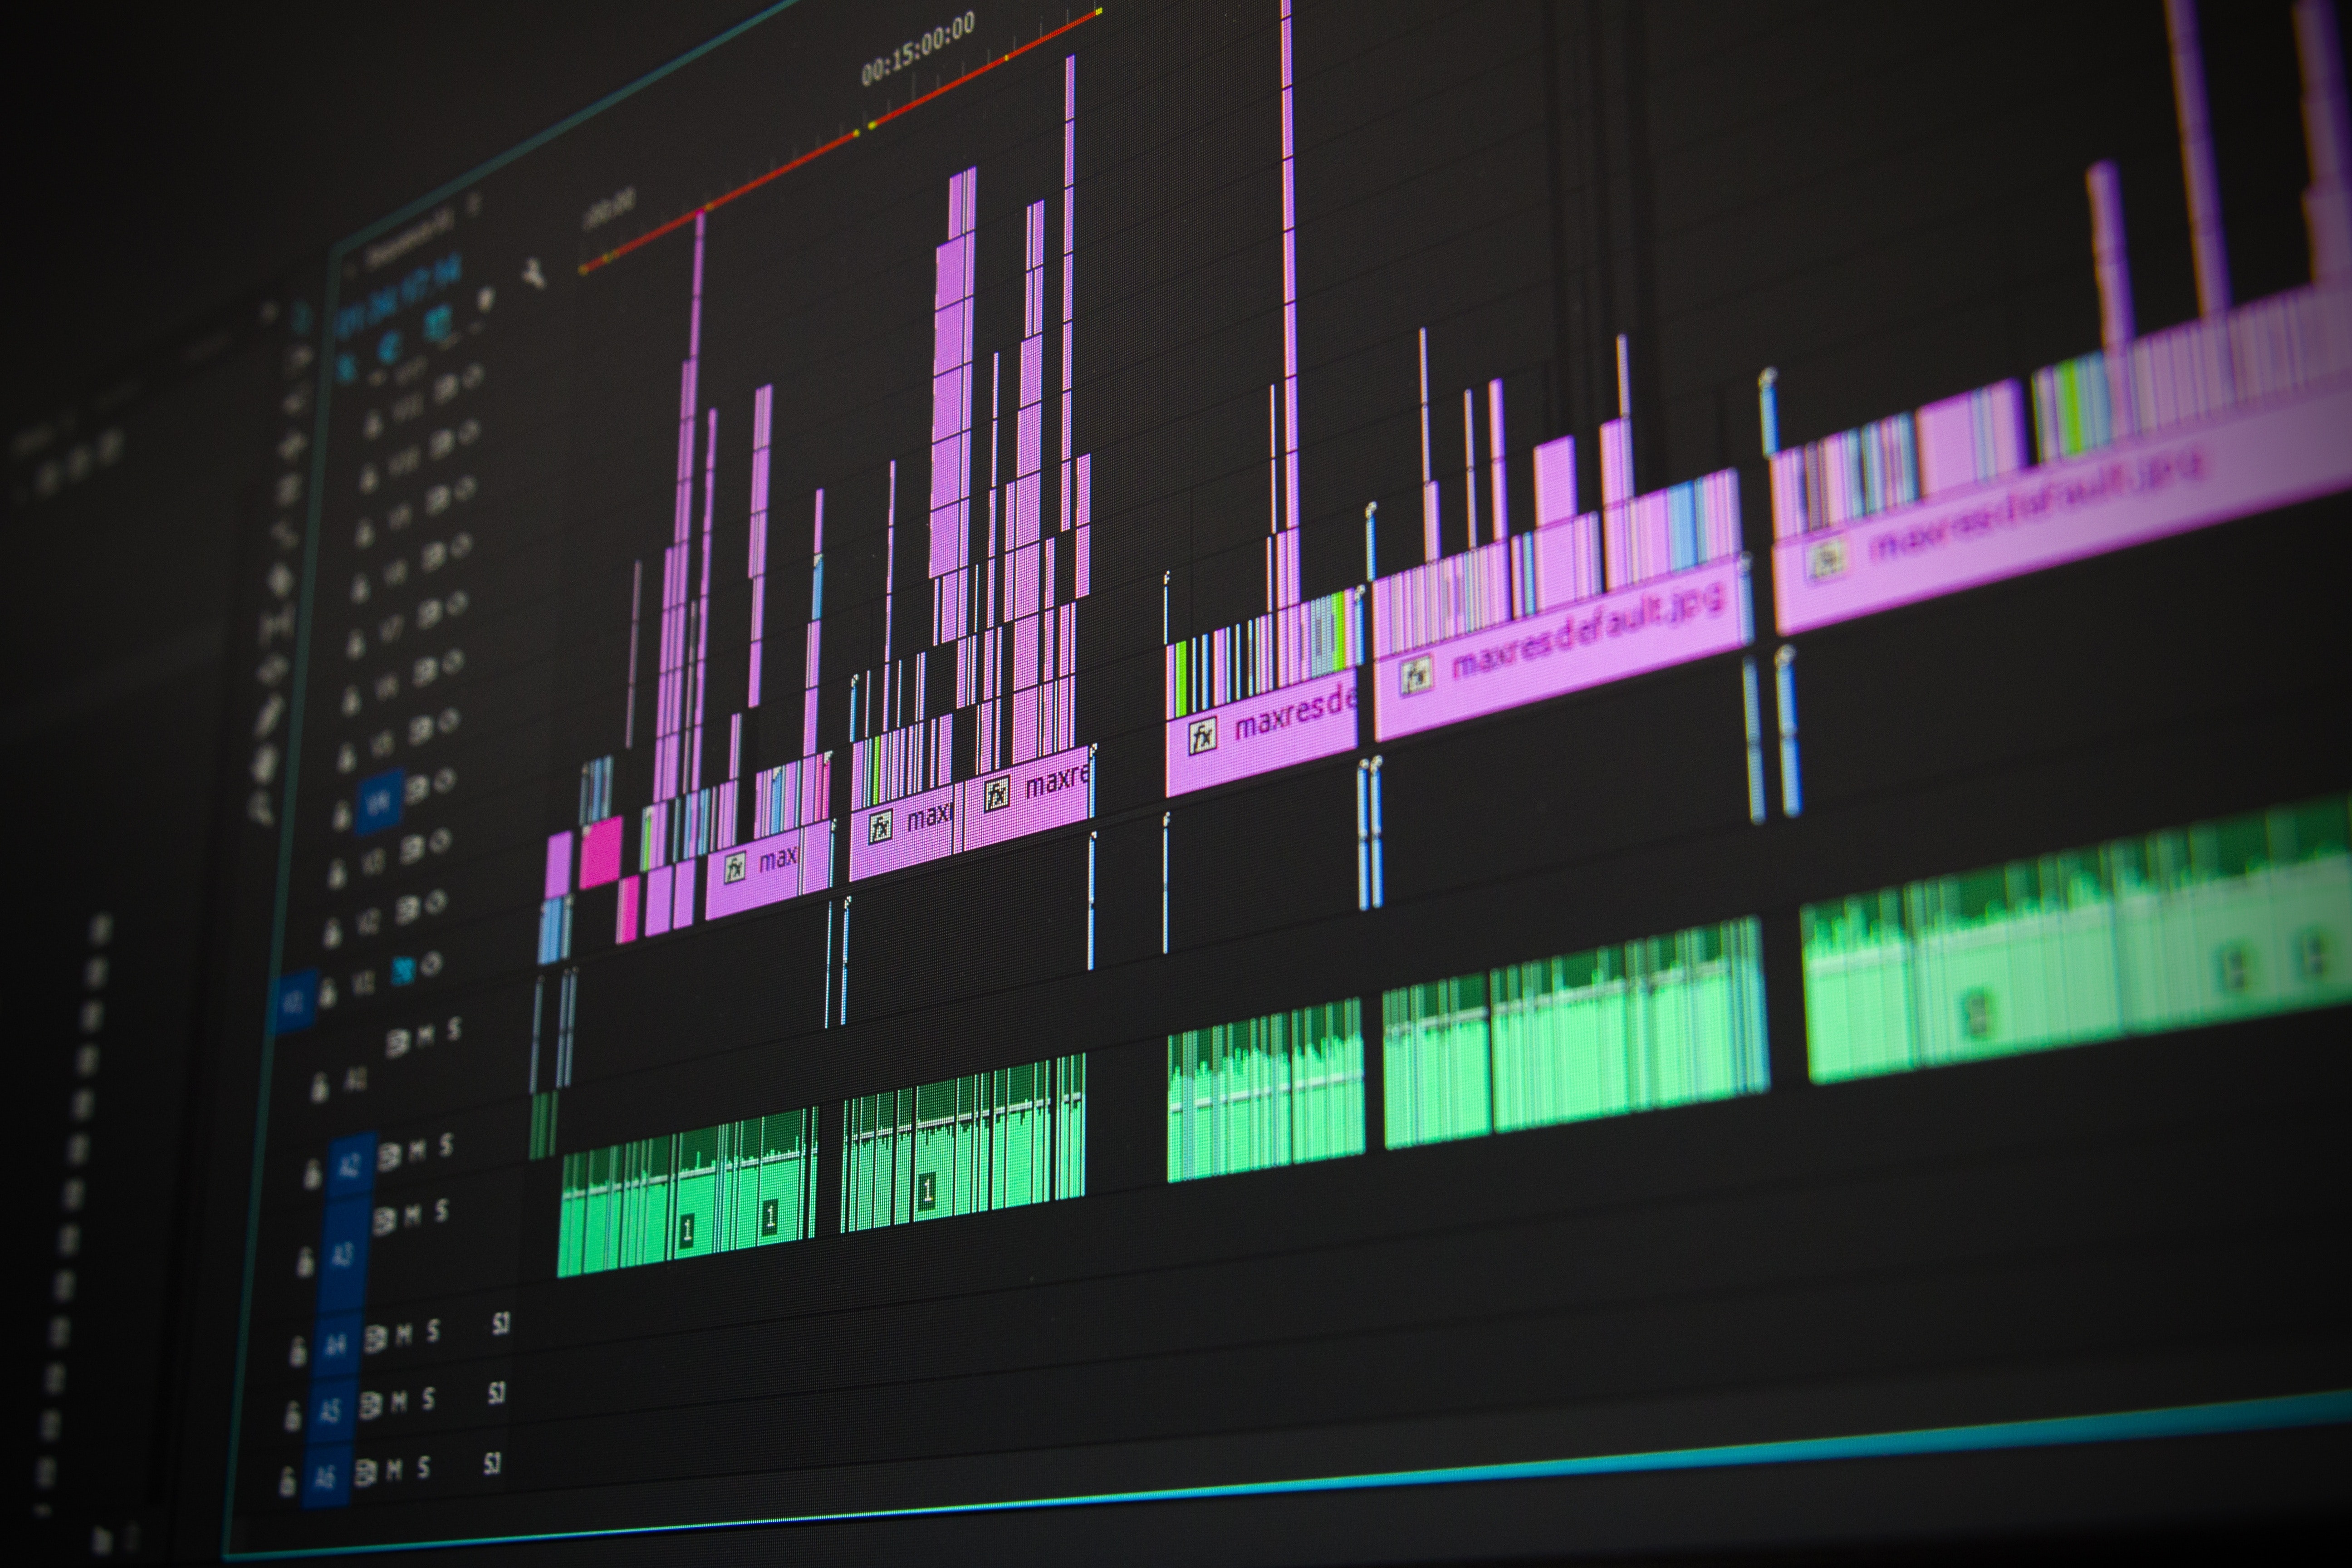
Create and edit videos

Edit photos and images

Record and edit audio

Create and edit animations

Note: The websites below offer free and paid features and are not considered to be open source. Although they are free to use, many of the advanced features require a monthly or annual subscription.

Create websites

Create infographics

Adobe Lightroom Classic in the Digital Media Studio!

Photography is a fun and popular art form, and a useful life skill. If you love taking photos and want to up your skill to the professional level, learning how to edit is extremely important! Adobe Lightroom Classic is a software used by professionals to touch up a photo, and it is available at the Annandale Campus Library for student use in the Digital Media Studio! Some of its features are similar to Photoshop, however Photoshop can be used for manipulating an image, whereas Lightroom is used mostly to enhance images. You can use presets which instantly edit the photo with certain adjustments, or you can manually adjust the photo to fix the exposure, contrast, white balance, and more.

When trying to capture the pretty sky, the mountains were underexposed! This image seemed like it just needed to be deleted….

If you are editing photos taken on a DSLR camera, many photographers recommend changing your camera settings. Most cameras are set to shoot JPEG, which is a compressed image file format. Professionals typically prefer to shoot in RAW, a camera setting which does not process the photo at all but gives total control of editing to the user. RAW files are much larger than JPEG files, which users must be wary of when taking a bunch of photos or storing them on their computer, but it is definitely worth it. The big difference with shooting in RAW is that it makes it easier to salvage underexposed (too dark) images.

Instead, the image was saved by being edited in Lightroom!

First, open up Lightroom, and import the images you want to edit. Then, have fun using the tools and make adjustments until you are satisfied with the image. While it does not have the capabilities to manipulate images like Photoshop, portraits can still be edited with features like smoothing skin, whitening teeth, removing spots, changing colors, and more! Once a RAW image is edited the way you want it to look, you can then save it as a JPEG, and it will be ready to print, post, or publish!

If you want to try out Lightroom, book a room in the Digital Media Studio! Feel free to check out these tutorials to learn more about how to use Lightroom, and if you want to use these for your own at home, you can also get the entire Adobe Creative Suite at a discounted price if you’re a student.


Adobe Dreamweaver in the Digital Media Studio

Are you interested in website design? There are a lot of website design services available online, but many times they limit your control. That’s why Adobe Dreamweaver is a great tool, because it gives you freedom to control every element of your website. To use Adobe Dreamweaver, you start by uploading a template of HTML code for a website, which you can create yourself or find for free online. Then, you can customize it as much as you want, changing the code, and seeing a live view of what the website would look like.

Users should have at least a basic understanding of HTML and CSS coding in order to use this software. If you want to try it but need help with HTML and CSS coding, we have resources available at the library, including online e-books, such as Sams Teach Yourself HTML, CSS & JavaScript Web Publishing in One Hour a Day or HTML: A Beginner’s Tutorial. You can access these e-books by logging in with your student account information.

If you don’t have Adobe Dreamweaver on your own computer, but want to give it a try or use it for a project, it is available in the Digital Media Studio! Additionally, if you are an active NOVA student and want to test out your website, you can upload your HTML file to NOVA’s Student Web Folders  and see what it looks like on the web.

Depending on your future career, proficient Dreamweaver skills may look good on a resume and help you cultivate skills for the workforce. If you are new to Dreamweaver, there are lots of free online tutorials to get you started.

Have you created a website using Dreamweaver? We’d love to see it! Send us your creations at anlibtechteam@nvcc.edu.

Video Editing Software in the Digital Media Studio

Whether you’re interested in film, need a video for class, or simply want to edit some footage for a personal project, the Digital Media Studio has the software you need to get started! For video editing software, we have Adobe Premiere Pro, Final Cut Pro, and iMovie.

Adobe Premiere Pro is a leading video editing app used by professionals and novices alike. It is available on both the PC and Mac computers in the Digital Media Studio. Final Cut Pro is specifically designed for Macs and is also a professional software. If the tools offered by these two programs is at all intimidating, we also have iMovie on both Macs which is more beginner friendly but can be used to make an awesome video project.
If you need help using video editing software, check out these tutorials or request tutoring when you book a seat in the Digital Media Studio. What will you create?

Meet the Library Technology Team!

Technology is an essential component to this modern world, which is why here at the Annandale Campus Library we strive to equip our students with the resources they need to succeed. You all may know about our public computers, printers, and charging stations, but did you know we have a team dedicated to helping students with all their technology needs?

  • Monique Clark, Technology Librarian – Our team lead, who provides technology planning, coordination, and support
  • Michelle Echols, Technology & Reference Specialist – Provides computer and printer maintenance and troubleshooting, technology recommendations and purchasing
  • Soo Bae, Reference/Technology Librarian (Not pictured) – Oversees technology training and support, social media and online research guides
  • J.P. Garces – Circulation department liaison to technology team, providing backup and support
  • Simran, Digital Media Studio Consultant – Assists with equipment checkout and Digital Media Studio maintenance
  • Saron, AcePrint Consultant (Not pictured) – Assists students with printing in the library
  • Abigail, Peer Technology Consultant – Provides technology tutoring for Digital Media Studio software and equipment
Michelle, Simran, Monique, Abigail and J.P.

The Library Technology Team exists to help students by providing assistance and access to all the resources the library has to offer. That’s why this semester the library is introducing a new member of the team, a Peer Technology Tutor, who is available to provide one-on-one assistance with Digital Media Studio software and Library equipment. The Digital Media Studio is a space within the Library that students can use for their photo, video editing, audio, or graphic design projects, equipped with the software students need. All you need to do to get started is book a seat in the studio. Stay tuned for future posts highlighting featured equipment and software. What will you create?